“I have Seagate GoFlex external hard drive, in this hard drive I had stored some of my important data which I use frequently. But today when I wanted to use the drive on my friend's laptop I was not able to access it, instead, I was prompted with an error showing the drive was not formatted do you want to format it now. I was in a hurry so I did not go through the error and just clicked on the Yes option, this recklessness resulted in a loss of all the data. Thus can anyone tell me is there a way to get back all the lost data? Please help me I am in a desperate situation”
Addressing the above problem, If you have encountered the above scenario, with the help of the right approaches you will be able to effortlessly recover your data from Seagate GoFlex.
Table of Content:
- Reasons for Data loss in Seagate GoFlex External Hard Drive
- How Do i Recover Data From Seagate GoFlex External Hard Drive using Windows ?
- How Do i Recover Data From Seagate GoFlex External Hard Drive using Mac ?
In the section below we will guide you to a hassle-free solution on how to retrieve your lost or deleted data from the external hard drive. However, there may be many reasons behind drive format error and some of them are mentioned below
Causes of Data Loss in SeaGate GoFlex External Hard Drive
- If the Seagate GoFlex drive is severely infected by a virus then this can damage some of the critical files which are required for the hard drive accessibility. Thus due to this reason, you may lose all your data from the hard drive.
- The file system is very important for the hard drive functionality and in fact even for the drive’s accessibility, perhaps if the file system of the hard drive is damaged then this can lead to loss of entire data from the drive. The file system can get damaged due to virus infection, improper file system conversion, formation of more bad sectors, and many more.
- If you have accidentally deleted or formatted the data from your external hard drive and the data bypasses the recycle bin.
- Having a corrupted / Inaccessible External Hard drive will make all the data residing on external hard drives inaccessible.
The above mentioned are some of the common reasons due to which you may come across the drive not formatted error on Seagate GoFlex, but there are many other reasons which can result in loss of data: such as improper partitioning, inadequate usage of hard drive, interruption during file transfer between the drive and computer and many more.
How do I recover data from Seagate external hard drive?
Many users think that the data once removed or lost due to format operation then it is lost permanently! However, this is not the fact because by making use of reliable data recovery software such as Remo Recover (Windows / Mac) which is capable of recovering more than 300 types of files effectively from Seagate GoFlex external hard drive.
Download Now For Windows Download NowFor Mac OS X 10.7 and Above
Recover data from Seagate GoFlex external hard drive on Windows
Step 1: Download and Install Remo Recover for Windows on your system.
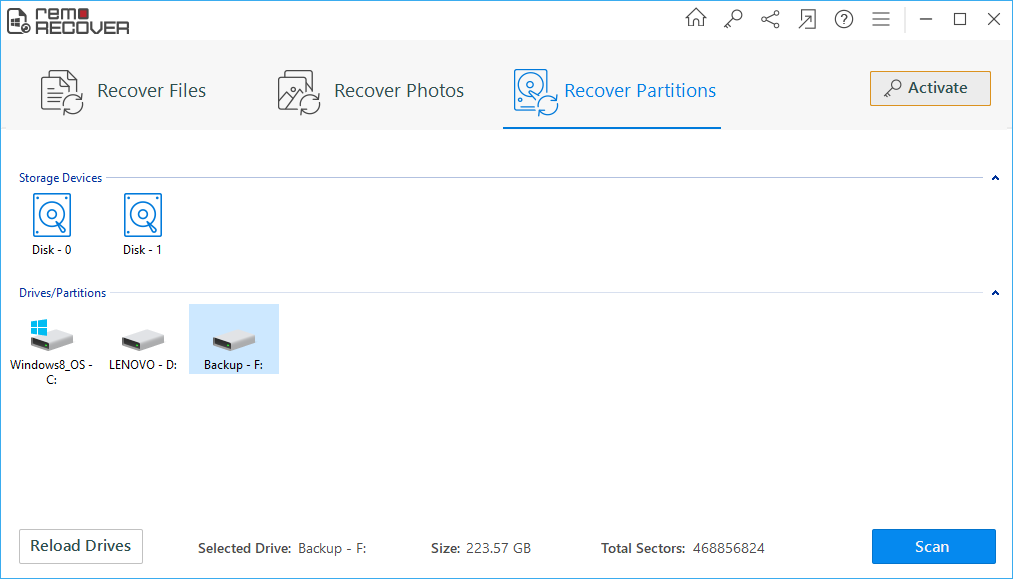
Step 2: Connect the external GoFlex hard disk, Launch the tool on the main screen click on Recover Partitions, and select your drive. And hit the scan button to start the recovering process.
Step 3: After completion of the scanning process, the tool will display recovered data in File Type View and Data View. If in case you didn’t find the files you were looking for. Then hit the Deep Scan button.

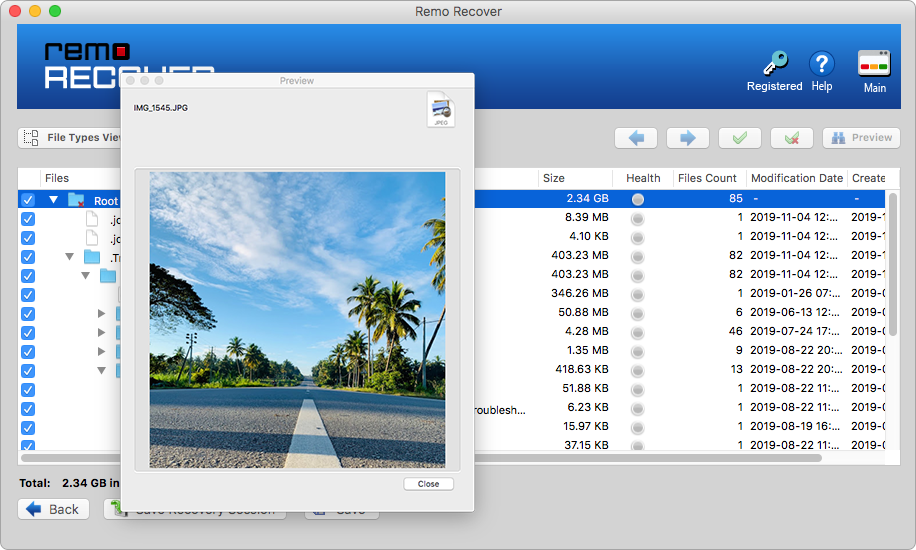
Step 4: Preview the recovered files and activate the software to save the recovered files on the desired location.

Recover data from Seagate GoFlex external hard drive on Mac
Step 1: Download and install trial version of this program
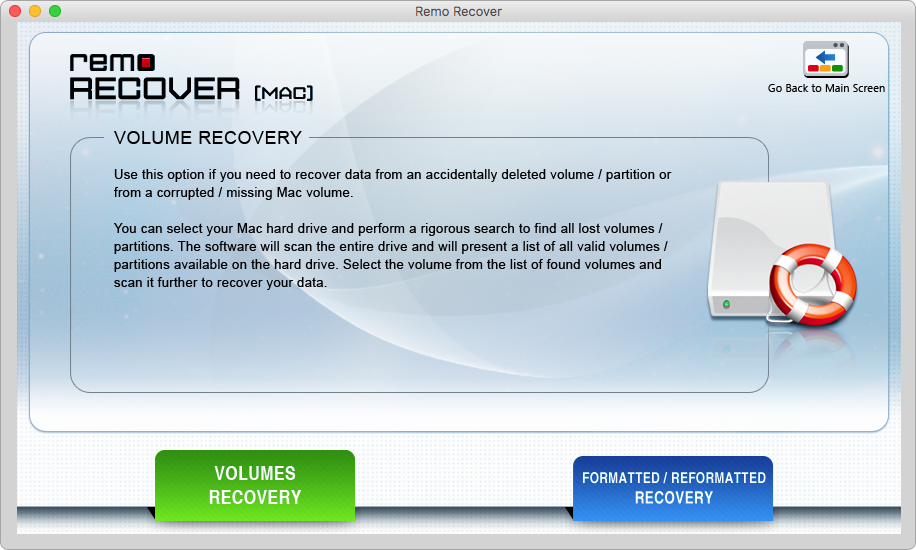
Step 2: Initially at the main screen click on “Recover Drives” option and in the next screen select “Formatted / Reformatted Recovery” option
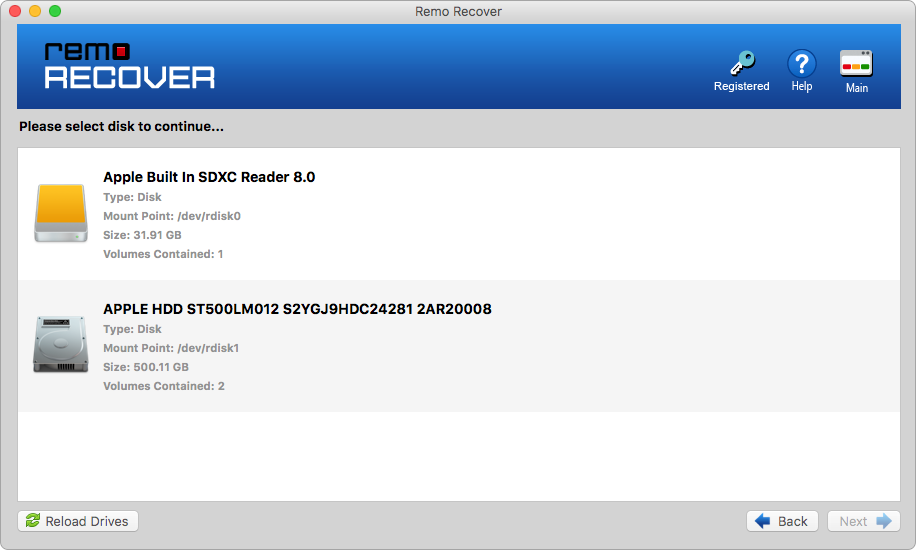
Step 3: From the upcoming screen select the drive from which you want to recover the data, and after selecting the drive scanning process will begin
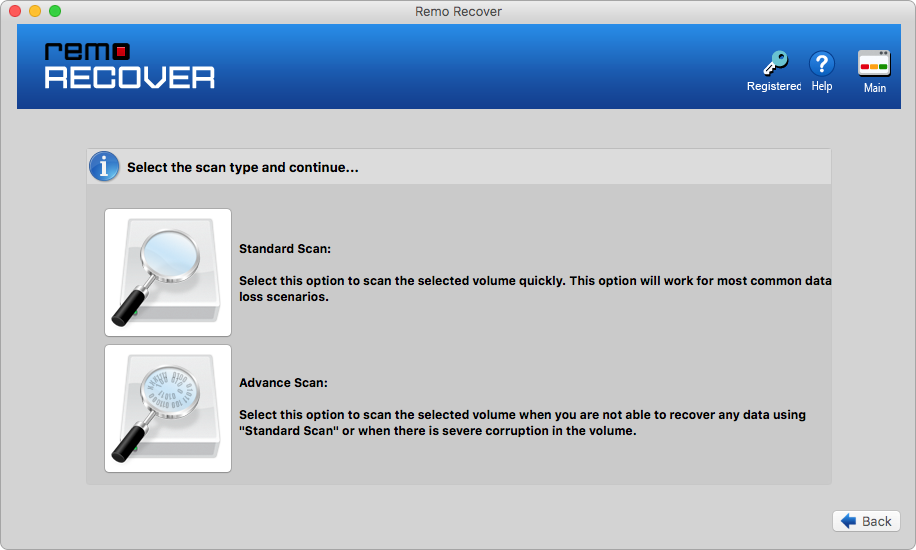
Step 4: Choose between standard scan and advanced scan. Select Advanced Scan to recover mac volumes for the scanning process will begin.
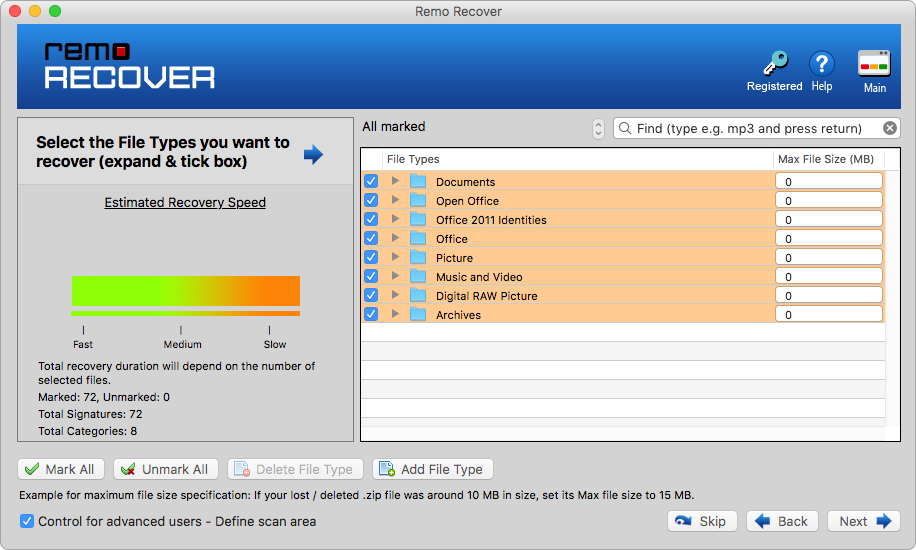
Step 5: Select the type of files that you want to recover.
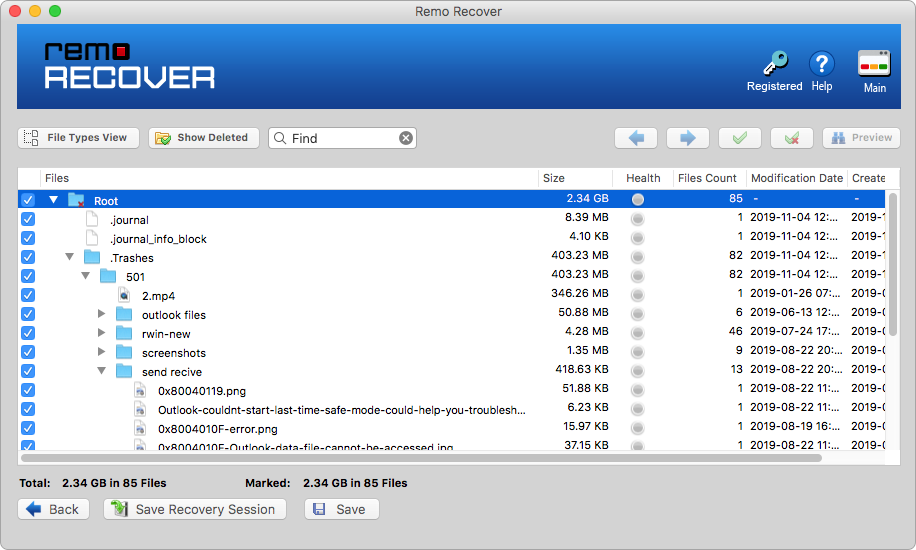
Step 6: After completion of the scanning process, the tool displays the recoverable data from the Mac drive in the data view and file type view.
Step 7: Verify the recovered files and check the efficacy of the tool. Once you are satisfied with the result, activate the tool and Save the recovered data to the desired location.
Additional info: Unlike external hard drives, even USB flash disk are also used to carry useful data, however this device is also prone to data loss, if you have come any data loss from USB flash disk then click here to know how to quickly recover USB flash disk data.
